

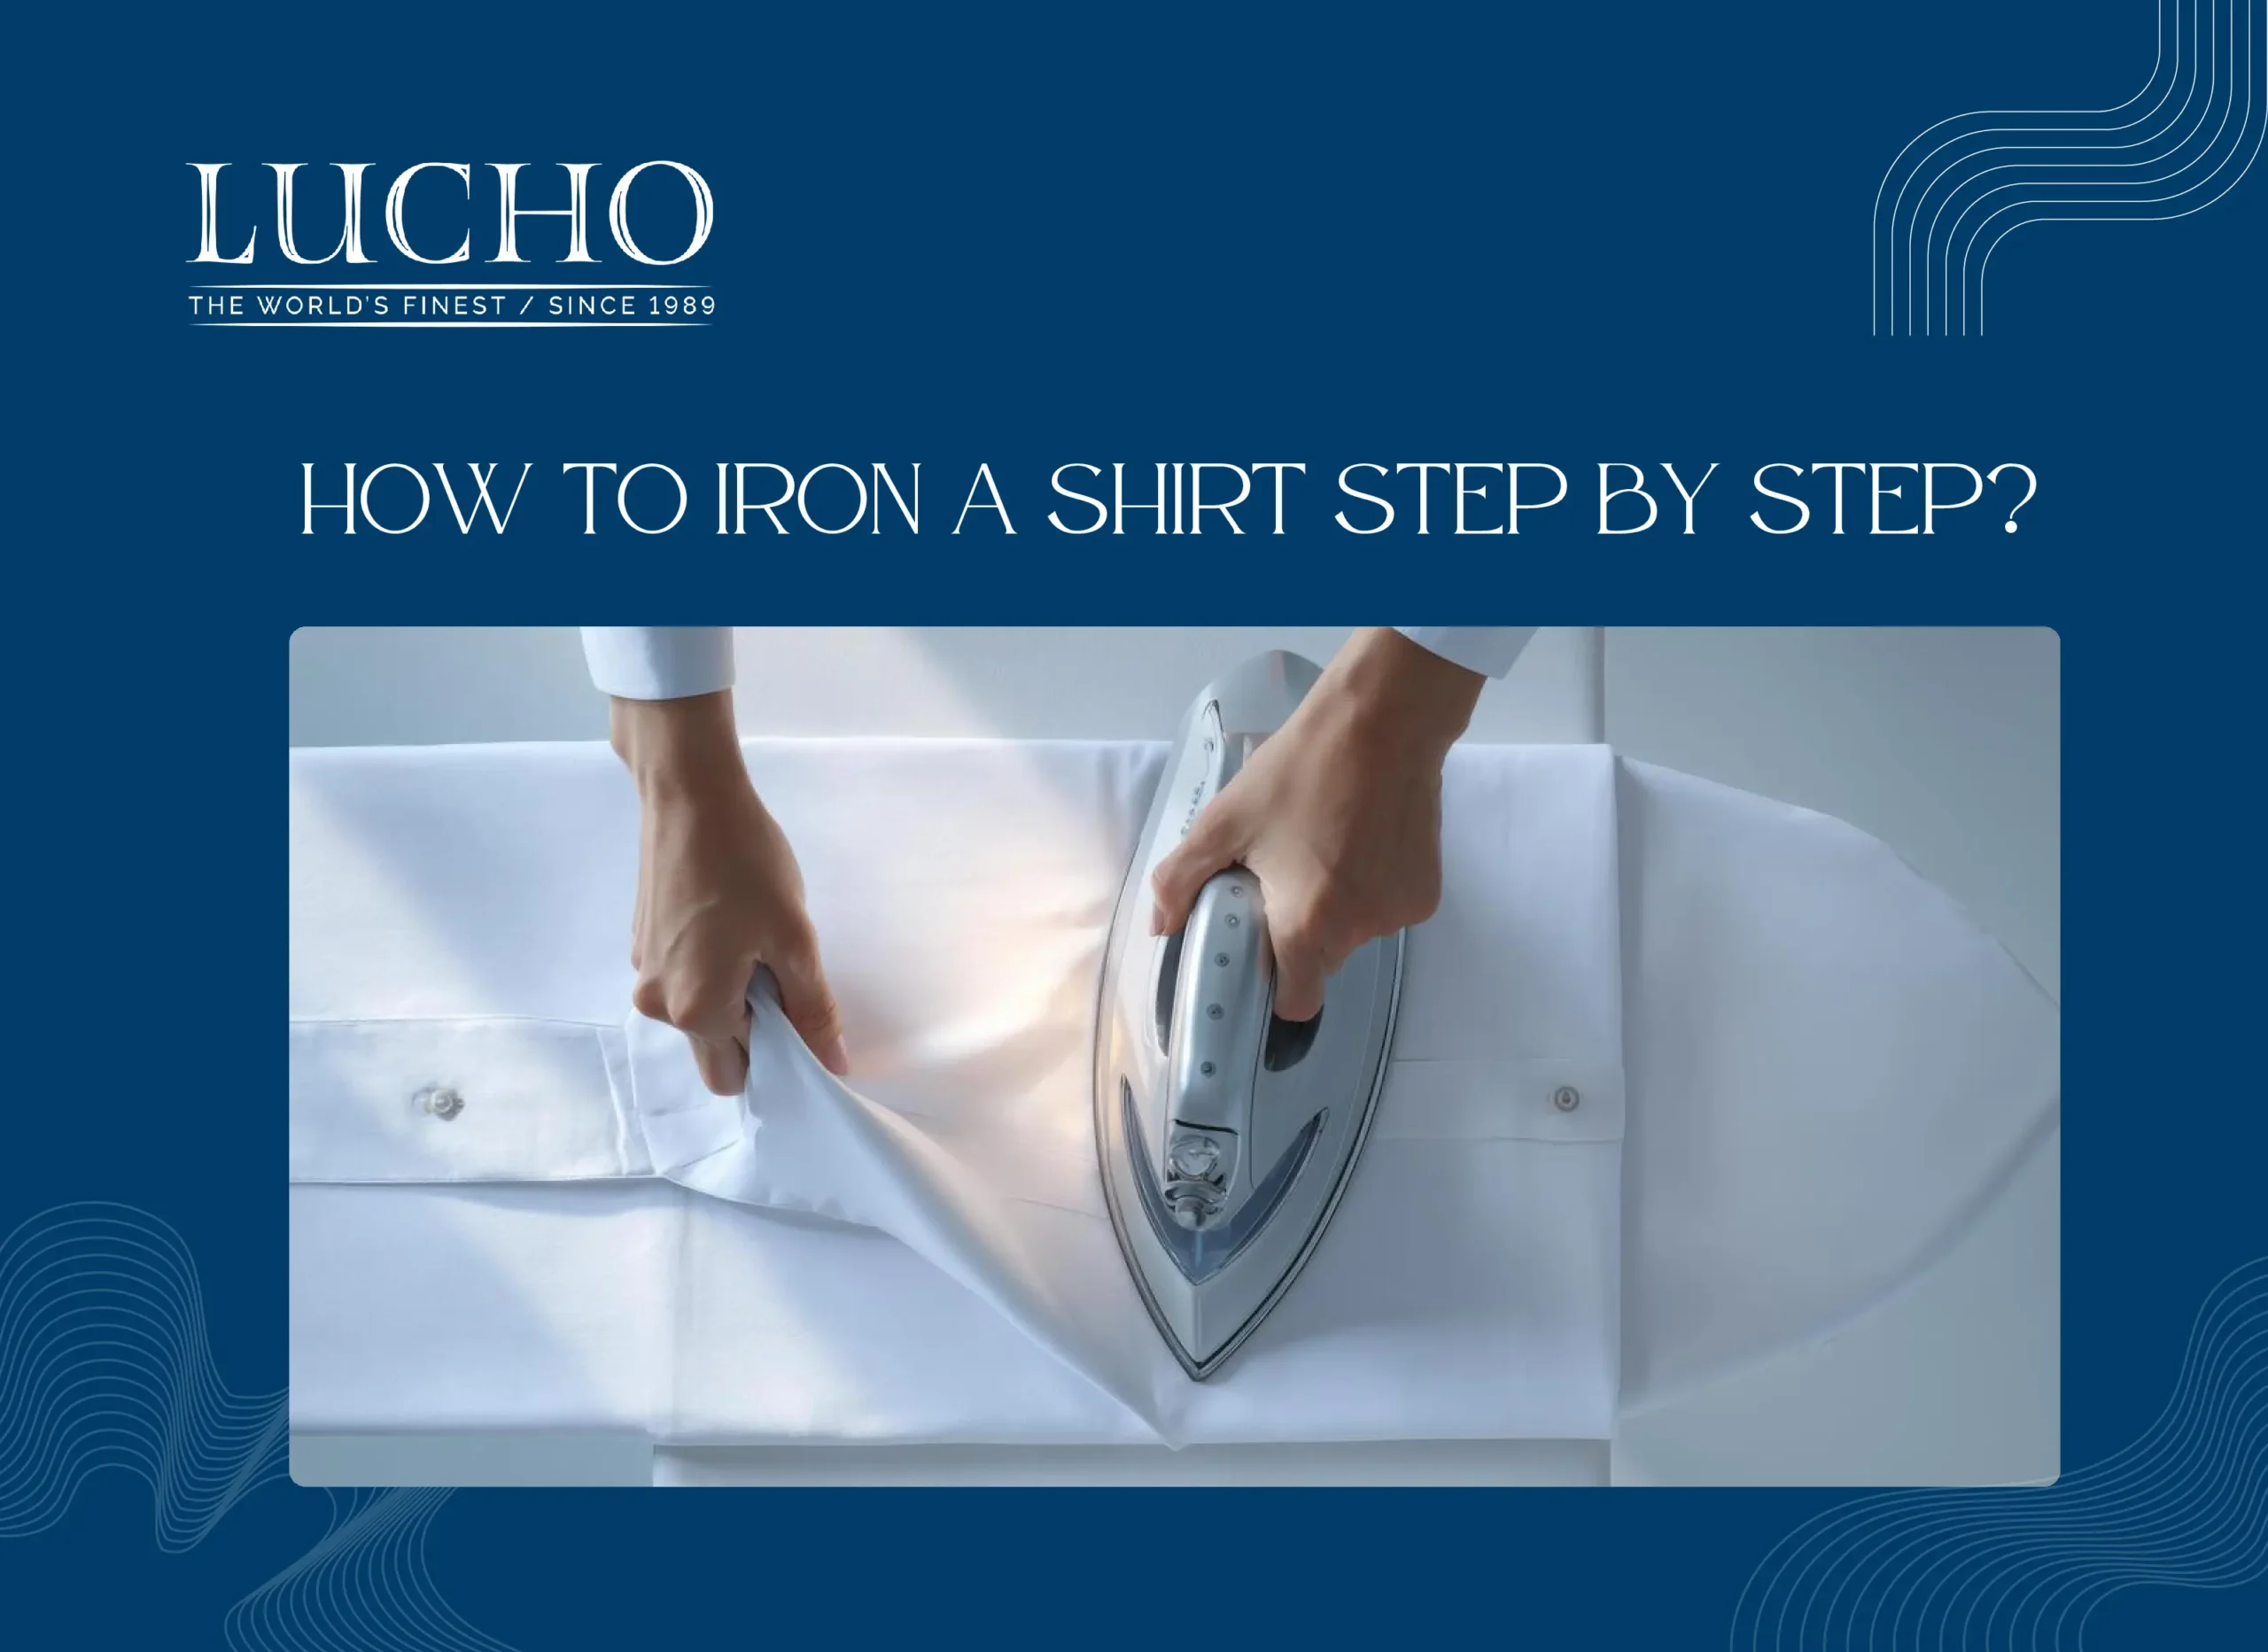
How to Iron a Shirt: A Simple Step-by-Step Guide
Want to know how to iron a shirt without ruining it? You’re in the right place. A wrinkled shirt can make even a sharp outfit look messy in seconds. Whether you’re getting ready for work in Houston or packing for a trip, this guide walks you through every step in order, plus the fabric tips most guides skip. By the end, you’ll press a shirt like a pro, with no guesswork involved.
Table of Contents
ToggleWhat Does It Mean to Iron a Shirt?
Ironing a shirt means using heat and pressure to smooth out wrinkles in the fabric. The iron’s hot plate loosens the fibers, then flattens them into a neat, crisp shape. Once the fabric cools, it holds that smooth form. This isn’t just about looks. A well-pressed shirt also helps the fabric last longer by easing out fibers the right way instead of letting creases set in over time.
Why Knowing How to Iron a Shirt Matters?
A crisp shirt changes how people see you. Whether you’re heading to a job interview, a meeting, or a night out, wrinkles send the wrong message.
Here’s why it pays off to learn this skill:
- It saves money on dry cleaning bills
- It makes your clothes look newer for longer
- It takes less time than a trip to the cleaner
- It gives you full control over how your shirt turns out
For folks in Houston dealing with humid weather, a properly ironed shirt also holds its shape better through the day compared to one that’s just steamed.
What You Need Before You Start
Gather these basics first:
- A clean iron with no rust or sediment on the plate
- A sturdy ironing board, set at a comfortable height
- A clean shirt (never iron a dirty one, it can set stains)
- A spray bottle filled with water
- Spray starch (optional, for extra crispness)
- A press cloth, such as an old pillowcase, for delicate fabrics
Check the care label on your shirt before you begin. The dots on the iron symbol tell you the safe heat level. More dots mean the fabric can handle more heat. If you have hard water in your area, boil it first before filling your iron. This stops mineral buildup that can clog the plate and leave marks on your shirt.
How to Iron a Shirt Step by Step?
This is the part you came for. Follow these steps for the best results, and don’t skip ahead, since pressing parts out of order can undo work you already finished.
Step 1: Prep the Shirt
Lightly dampen the shirt with your spray bottle if it’s completely dry. A slightly damp shirt presses much more easily than a bone-dry one. Unbutton the shirt fully and remove any collar stays before you start.
Step 2: Iron the Collar First
Lay the collar flat with the underside facing up. Iron from the points toward the center, using light pressure. Flip it over and repeat on the other side. Keep the strokes long and steady, and avoid going back and forth too quickly, which can push the fabric out of shape.
Step 3: Press the Cuffs
Unbutton each cuff and lay it flat. Iron the inside first, then flip and press the outside. Use the tip of the iron to work carefully around the buttons so you don’t crack or scorch them.
Step 4: Work the Sleeves
Smooth out the sleeve with your hand first to remove any folds underneath. Lay it flat along its seam and iron from the cuff up toward the shoulder in long, even strokes. Flip the sleeve and check the other side. If you like a crisp center crease, line up the top and bottom edges before pressing.
Step 5: Tackle the Yoke and Shoulders
The yoke is the panel of fabric across the upper back. Drape the shoulder section over the narrow end of the board. Iron from the outer edge toward the middle, then turn the shirt and repeat on the other side. This step trips up a lot of beginners, so take your time and let the curve of the board do the work.
Step 6: Finish the Back and Front Panels
Lay one side of the back flat and iron from bottom to top. Reposition the shirt and repeat for the other half. If there’s a center pleat, iron around it instead of flattening it, or you’ll lose the pleat’s shape. Move to the front panels next. Iron carefully between the buttons, never directly over them, and take it slow around the pocket if your shirt has one. Finish by giving the front of the collar a final pass. Once every section is pressed, hang the shirt up right away. This helps it keep its shape and stops new wrinkles from forming before you wear it.
Fabric-Specific Tips for Ironing a Shirt
Not every shirt presses the same way. Here’s how to adjust based on the material:
- Cotton and cotton blends: These handle high heat well. Use medium to high settings and plenty of steam.
- Linen: Iron while still slightly damp, and don’t worry about a few soft wrinkles, since that’s part of the look.
- Silk and delicate fabrics: Use the lowest heat setting, iron the shirt inside out, and place a press cloth between the iron and the fabric.
- Synthetic blends like polyester: Stick to low heat. Too much heat can melt or shine the fibers.
- Denim shirts: Use medium to high heat with steam, and iron inside out to avoid shine on the surface.
Common Mistakes to Avoid When Ironing a Shirt
Even simple tasks go wrong without the right technique. Watch out for these slip-ups:
- Ironing a dirty shirt. Heat can lock in stains permanently.
- Using the wrong heat setting. Always check the care label first.
- Rushing with small, jerky strokes. This causes more creases, not fewer.
- Skipping the damp step. Dry fabric is much harder to smooth out.
- Ironing directly over buttons. This can crack or melt them.
- Folding the shirt right after ironing. Let it cool and hang first.
- Using untreated hard water in your iron. This clogs the plate and can stain your fabric.
Helpful Tips for a Crisp, Lasting Finish
- Iron shirts inside out when working with darker or delicate fabrics to avoid shine.
- If you press several shirts at once, do all the collars first, then all the cuffs, and so on. It’s faster than finishing one shirt at a time.
- Keep your iron’s plate clean. A dirty plate can leave marks on light fabrics. Run it over an old white cloth from time to time to check.
- If you use starch, spray it lightly section by section as you go, and avoid soaking the fabric, which can leave stains or a stiff feel.
- In a humid place like Houston, hang your ironed shirt somewhere with airflow so it doesn’t pick up moisture again before you wear it.
- If you’re short on time, hang a lightly wrinkled shirt in the bathroom while you shower. The steam can loosen mild creases without a full press.
Local Tip for Houston Residents
Houston’s heat and humidity can undo your hard work fast if a shirt sits in a closed closet right after being ironed. Let it hang in an open space with a fan or AC vent nearby for a few minutes before storing it. This keeps the press looking sharp through a long, humid day, whether you’re heading into the office or out for an evening event.
Conclusion
Now you know how to iron a shirt the right way, from prepping the fabric to pressing every section in order. Skip the common mistakes, match your heat setting to the fabric, and your shirts will look crisp every time. Grab your iron and give it a try today on your next shirt.
Frequently Asked Questions
To iron a shirt quickly and perfectly, always start by dampening the fabric. Iron in a strict sequence from the smallest details to the largest panels to prevent re-wrinkling: Collar ➔ Cuffs ➔ Sleeves ➔ Yoke (Shoulders) ➔ Back ➔ Front.
Check the care label first. Cotton shirts usually need medium to high heat, while synthetic blends need a lower setting. Too much heat can scorch or shine the fabric, so always test on a hidden spot first.
A slightly damp shirt presses much easier than a dry one. If your shirt is already dry, lightly mist it with water from a spray bottle before you start ironing for smoother results.
Ironing a shirt takes 3 to 5 minutes on average once you get the hang of it. However, if you are a beginner, it can take 10 to 15 minutes as you navigate tricky areas like the collar and cuffs. In an emergency, you can knock out a presentable shirt in just 1 to 2 minutes by focusing only on the visible parts.
Yes, starch adds extra crispness and helps the shirt resist wrinkles longer. Spray it lightly, section by section as you go. Avoid soaking the fabric, since too much starch can leave stains or a stiff feel.
Contact Us
Recent Posts
- How a Dress Shirt Should Fit: 6 Easy Checks
- Your First Custom Suit Fitting: What Happens and How to Prepare
- What Is Cocktail Attire for Men? A Simple Guide
- Wool vs Linen vs Cotton: Best Suit Fabric for Houston Heat
- What to Wear to a Cigar Lounge: A Men’s Style Guide
- How to Measure Yourself for a Suit at Home (Easy Guide)
- Suit vs Tuxedo: The Real Difference (and When to Wear Each)
- The Return of the Double-Breasted Suit: How to Wear It in 2026
- Best Dress Pants for Men: The Ultimate 2026 Fit & Style Guide
- Black Suits Men: Style Guide & When to Wear Them